Having jars of cooked ground beef on the shelf turns a hectic weeknight into a quick dinner. Pressure canning lets you store meat for years without tying up freezer space.
This is my go-to method when ground beef goes on sale. Buy in bulk, jar it up, and you have a head start on chili, tacos, and pasta sauce for game day or a potluck.
Meat is a low-acid food, so safety matters. This guide follows tested processing times and pressures, so read every step before you start your first batch.
Why This Recipe Works
Ground beef is one of the most affordable sources of protein, and canning it makes the most of sale prices. Once sealed and processed, the jars stay shelf-stable at room temperature, so you are not relying on a freezer during power outages or when space runs short.
Browning the meat before packing gives you richer flavor and less grease in the jar. The result is ready to heat and use in almost any recipe that calls for cooked ground beef, which saves real time on busy evenings.
Ingredients
- Ground beef
- Water
- Pickling salt (optional)
Check the recipe card below for exact amounts and jar counts.
Variations
- Plain Browned Beef – The simplest option, with just browned meat and salt. It works in nearly any recipe later on.
- Taco-Ready Beef – Brown the meat with a small amount of chili powder and cumin before jarring. Keep spices light so the flavor stays balanced.
- Chunky Crumbles – Break the beef into larger pieces when browning for a heartier texture in stews and sloppy joes.
- Lean Beef – Use 90 percent lean ground beef and drain the fat well. Less fat means a cleaner jar and better shelf quality.
How to Make Pressure Canned Ground Beef
- Step 1 – Brown the ground beef in a large skillet over medium-high heat until no pink remains, about 8 to 10 minutes. Break it into small pieces as it cooks.
- Step 2 – Drain the fat thoroughly, then spoon the meat into a colander and rinse briefly with hot water if you want a leaner result.
- Step 3 – Wash pint or quart jars, keep them hot in a pot of simmering water, and bring lids to a gentle simmer in a separate pan.
- Step 4 – Pack the hot meat loosely into jars, leaving 1 inch of headspace. Add 1 teaspoon pickling salt per pint if using.
- Step 5 – Pour boiling water over the meat, keeping 1 inch of headspace. Run a non-metallic tool around the inside of the jar to release air bubbles, then wipe the rims clean.
- Step 6 – Place lids and bands on, tightening fingertip-tight. Load the jars onto the rack of a pressure canner with 2 to 3 inches of hot water.
- Step 7 – Vent the canner for 10 minutes, then bring it to 10 PSI for weighted gauge at 0 to 1,000 feet. Process pints for 75 minutes and quarts for 90 minutes.
- Step 8 – Turn off the heat and let the pressure drop to zero naturally. Wait 10 minutes before opening the lid, then move jars to a towel and cool for 12 to 24 hours.
Expert Tips
- Follow tested times – Never shorten processing time or use a water bath canner for meat. Meat needs a pressure canner to reach a safe temperature.
- Adjust for altitude – Pressure increases above 1,000 feet. Check your canner manual or a current USDA canning guide for the correct PSI at your elevation.
- Check seals – After cooling, press the center of each lid. If it flexes, the jar did not seal and the meat should go in the fridge and be used within a few days.
Serving Suggestions
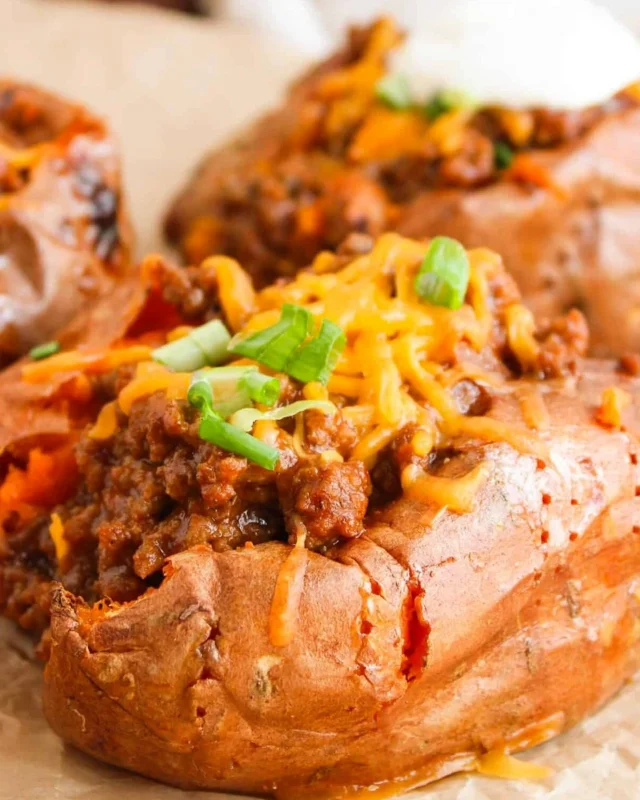
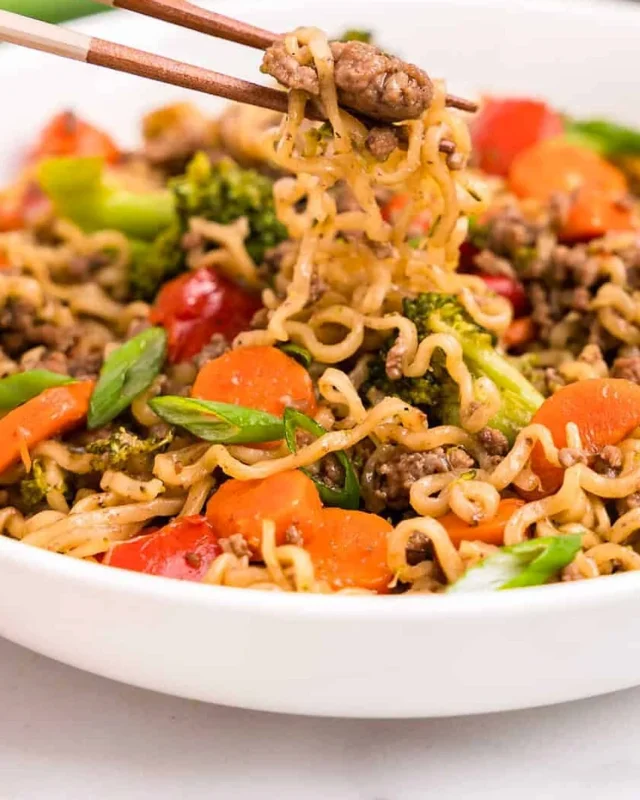
Drain a jar and warm the beef in a skillet with a splash of water or broth. It is ideal for quick tacos, sloppy joes, or a pot of chili when you need dinner on the table fast.
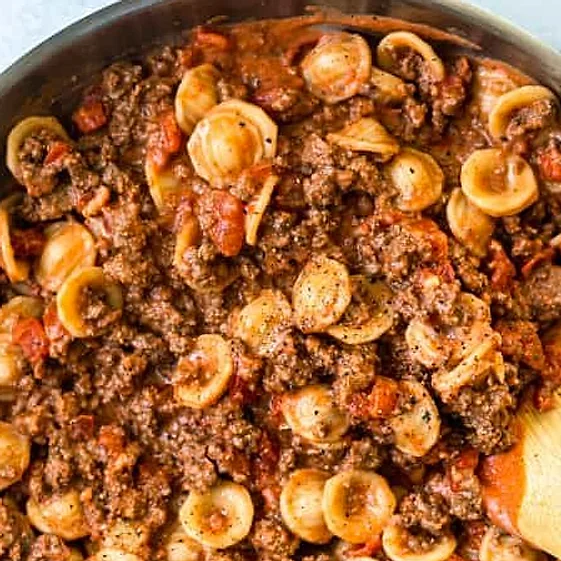
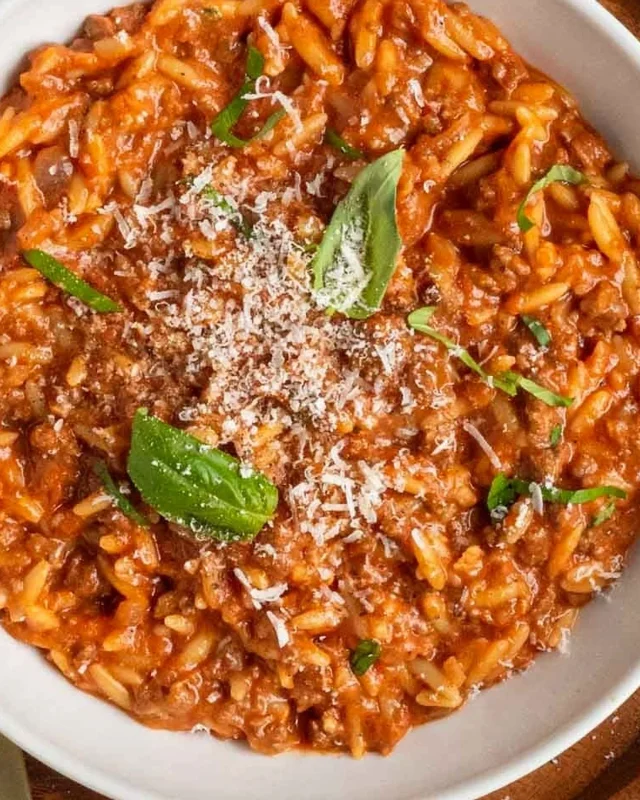
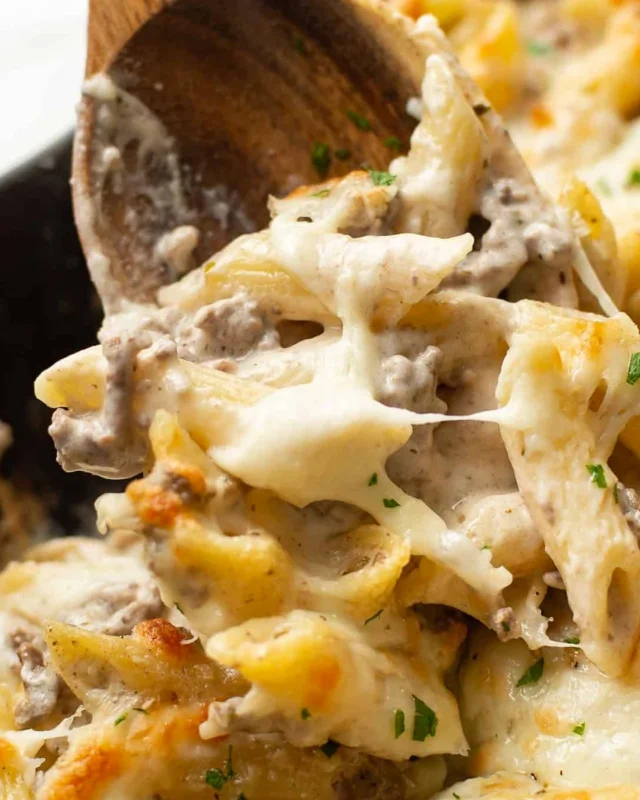
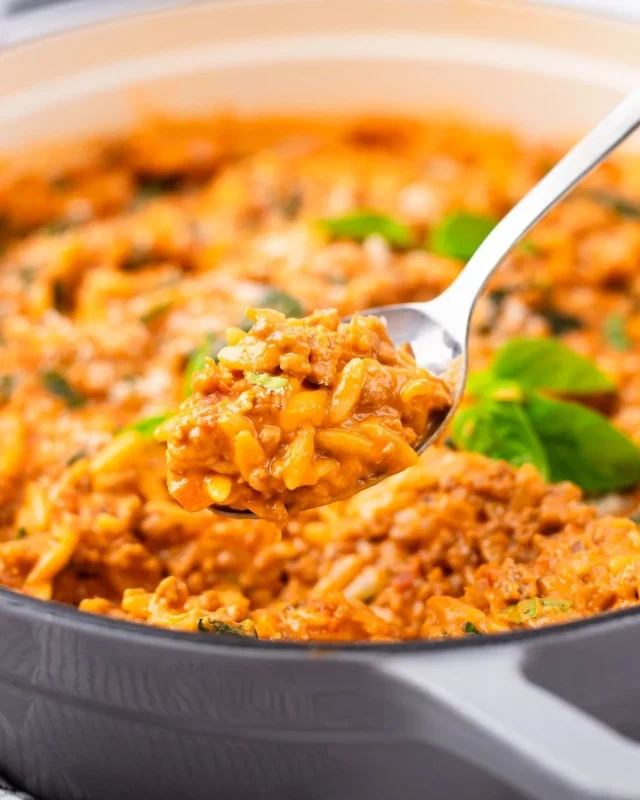
Stir it into pasta sauce, shepherd’s pie filling, or a skillet of rice and beans. A little shredded cheese and fresh vegetables turn it into a complete, high-protein meal the whole table will eat.
How to Store Canned Ground Beef
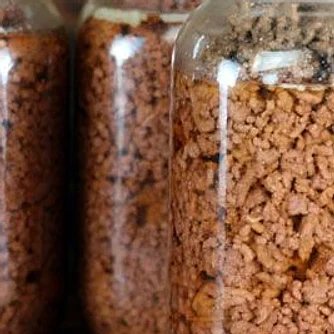
Store sealed jars in a cool, dark, dry place, ideally between 50 and 70 degrees Fahrenheit. Label each jar with the date and use the oldest first. Properly canned meat keeps its best quality for about one to two years.
Once opened, refrigerate any leftovers and use within three to four days. Heat the meat until steaming hot before serving.
Frequently Asked Questions
Can I pressure can ground beef without browning it first?
Yes, you can raw pack it, but browning first gives better flavor, less fat in the jar, and a cleaner look. Either way, follow tested pressure and time guidelines for your jar size.
How long does pressure canned ground beef last?
Properly sealed and stored in a cool, dark place, it keeps its best quality for about one to two years. Discard any jar with bulging lids, leaks, or off odors.
Do I need a pressure canner for ground beef?
Yes. Meat is low-acid, and a water bath canner cannot reach a temperature high enough to make it safe for shelf storage. Use a dial-gauge or weighted-gauge pressure canner.
Can I add onions or spices to the jars?
Keep additions minimal and avoid thickeners like flour or cornstarch. Stick to simple seasonings and check current USDA guidance before adding anything else.
 Recipe byBrooke Miller
Pressure Canned Ground Beef
Ingredients
- About 7 pounds ground beef (about 1 pound per pint jar)
- Water, boiling, enough to cover meat with 1 inch of headspace
- 1 teaspoon pickling salt per pint (optional)
Instructions
- Brown the ground beef in a large skillet over medium-high heat until no pink remains, about 8 to 10 minutes.
- Drain the fat thoroughly and keep the meat hot.
- Wash pint or quart jars and keep them hot in simmering water. Warm the lids in a separate pan.
- Pack hot meat into jars, leaving 1 inch of headspace. Add salt if using.
- Pour boiling water over the meat, keeping 1 inch of headspace. Remove air bubbles and wipe rims.
- Add lids and bands fingertip-tight, then load jars into a pressure canner with 2 to 3 inches of hot water.
- Vent for 10 minutes, then bring to 10 PSI at 0 to 1,000 feet. Process pints for 75 minutes and quarts for 90 minutes.
- Turn off heat and let pressure drop naturally. Wait 10 minutes, remove jars, and cool for 12 to 24 hours before checking seals.
Notes
- Times and pressure are for weighted-gauge canners at 0 to 1,000 feet. Dial-gauge canners and higher altitudes need 11 PSI or higher adjustments.
- Always use a pressure canner for meat. Do not use a water bath canner.
- Ingredient amounts are estimates. Adjust the number of jars to your batch size and keep headspace consistent.