
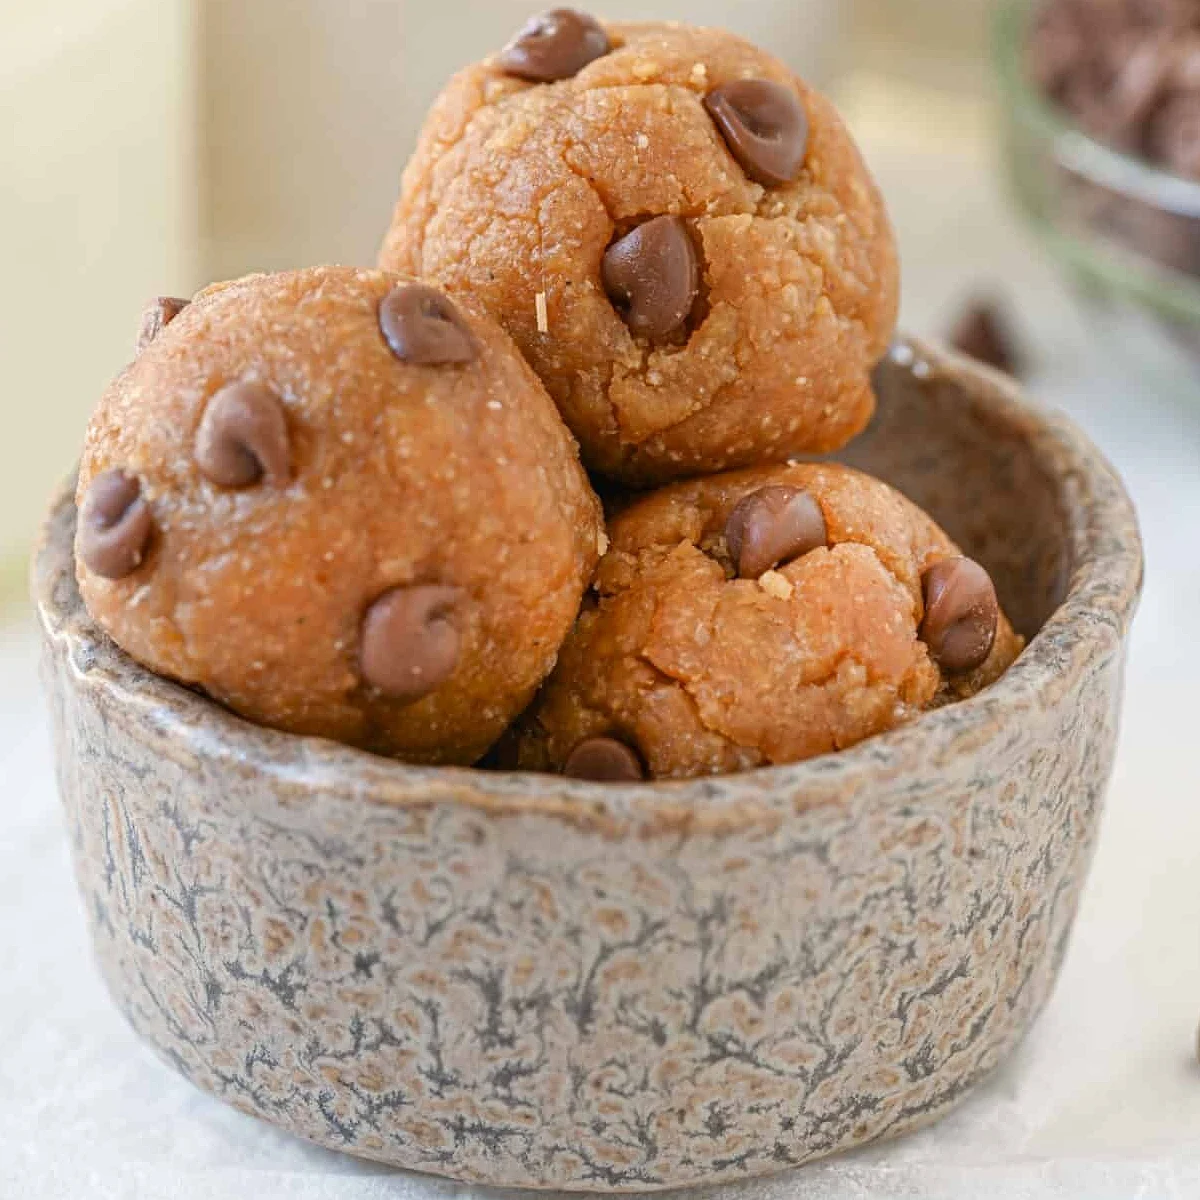
These peanut butter energy balls are my go-to when the kids come home hungry and dinner is still an hour away. They need no oven, just a bowl and a spoon.
Made with rolled oats, creamy peanut butter and a little maple syrup, they are filling enough to carry you through an afternoon slump. A scoop of protein powder boosts the protein per bite.

They are perfect for lunchboxes, post-workout bites, road trips, or a simple game day snack that costs very little to make.
Why This Recipe Works
Rolled oats and peanut butter form a sturdy, chewy base that holds its shape without any baking. The peanut butter also brings healthy fats and protein, so the balls keep you satisfied longer than a sugary cookie.
Adding protein powder in place of some oats lifts the protein content noticeably. Maple syrup sweetens the mix gently, and a pinch of sea salt makes the peanut flavor pop.
Ingredients
- Rolled oats
- Creamy peanut butter
- Maple syrup or honey
- Sea salt
- Chocolate chips (optional)
- Protein powder
Check the recipe card below for exact amounts.
Variations
- Crunchy Peanut Butter – Use crunchy peanut butter for extra texture and a more rustic bite.
- Honey Version – Swap the maple syrup for honey if that is what you have on hand, adjusting to taste.
- Cocoa Bites – Stir in a spoonful of unsweetened cocoa powder for a chocolatey twist without extra chips.
- Seed Swap – Replace part of the oats with ground flaxseed or chia seeds for more fiber.
How to Make Peanut Butter Energy Balls
- Step 1 – Add the rolled oats and protein powder to a large mixing bowl and stir them together.
- Step 2 – Add the peanut butter and 3 tablespoons of maple syrup to the bowl.
- Step 3 – Mix with a sturdy spoon or spatula until the dough starts to come together.
- Step 4 – Taste the dough and add more maple syrup, one tablespoon at a time, until it is sweet enough for you.
- Step 5 – Add the pinch of sea salt and stir again to distribute it evenly.
- Step 6 – Fold in the chocolate chips, if using.
- Step 7 – If the mixture feels too sticky, chill it for 10 minutes. Otherwise, roll it into balls about 1 inch wide.
- Step 8 – Place the balls on a plate or tray lined with parchment and refrigerate for 30 minutes to firm up before serving.
Expert Tips
- Wet Hands – Lightly dampen your hands before rolling so the dough does not stick to your fingers.
- Protein Powder Choice – Use a mild vanilla or unflavored powder, as strong flavors can overpower the peanut butter.
- Sweetness Check – Start with less syrup than you think you need, since the chocolate chips add sweetness too.
Serving Suggestions
Serve these energy balls chilled as an afternoon snack alongside a glass of milk or a piece of fruit. They pair nicely with apple slices for a simple, filling plate.
Pack a few in lunchboxes or take them on hikes and road trips. They hold up well in a small container and need no utensils.
How to Store Leftovers
Keep the energy balls in an airtight container in the fridge for up to one week. Chilling keeps them firm and stops the oil in the peanut butter from softening them too much.
For longer storage, freeze them in a single layer, then move them to a freezer bag for up to three months. Thaw in the fridge for about 30 minutes before eating.
Frequently Asked Questions
Can I make peanut butter energy balls without protein powder?
Yes. Simply replace the protein powder with an extra 50 grams of rolled oats or a tablespoon of ground flaxseed. The balls will be a little less protein-packed but just as tasty and easy to roll.
Are peanut butter energy balls good for kids?
They are a practical snack for kids because they are soft, easy to hold, and filling. Keep an eye on added sweetener and choose a nut-free seed butter if your school requires it.
Can I use honey instead of maple syrup?
Yes, honey works well as a direct swap. Start with the lower amount and add more to taste, since honey can be slightly sweeter than maple syrup.
Why are my energy balls too crumbly?
Your peanut butter may be too dry or the mix needs more binder. Add maple syrup a teaspoon at a time until the dough holds together when pressed.
 Recipe byBrooke Miller
Peanut Butter Energy Balls
Ingredients
- 150 grams (1 ½ cups) rolled oats
- 120 grams (½ cup) peanut butter (creamy)
- 3 to 5 tbsp maple syrup (replace with honey, to taste)
- a pinch of sea salt
- 4 tbsp chocolate chips (optional)
- 50 grams (½ cup) protein powder (as oat replacement)
Instructions
- Add the rolled oats and protein powder to a large mixing bowl and stir to combine.
- Add the peanut butter and 3 tbsp of maple syrup to the bowl.
- Mix with a sturdy spoon or spatula until a dough begins to form.
- Taste the dough and add more maple syrup, 1 tbsp at a time, up to 5 tbsp total, until sweet enough.
- Stir in the pinch of sea salt.
- Fold in the chocolate chips, if using.
- If the dough is very sticky, chill for 10 minutes; then roll into 1-inch balls with lightly dampened hands.
- Arrange the balls on a parchment-lined tray and refrigerate for 30 minutes until firm.
Notes
- Use a mild vanilla or unflavored protein powder for the best flavor.
- Replace maple syrup with honey if preferred, adjusting to taste.
- Store in an airtight container in the fridge for up to one week or freeze for up to three months.